Qube Dashboard Release 2.55: Default Filters and Alarm Notifications
With Release 2.55, you can customize your default filters to view the sites that matter most to you.
If you manage a subset of sites within your organization, set a Default Filter and see only your sites or regions by default and limit alarms to the same scope.
Interested to learn more?
How to Set a Default Filter
Focus on the sites that matter most to you.
To set a Default Filter:
Click on your Account button in the bottom left.
Click User Settings.
Select Default Filters.
Choose filters by Business Unit, Asset/Area and/or Site Group then save.
Your Overview and Emission Analytics Pages will be set to the selected filters.

Limit Alarm Notifications to Filtered Selection
Cut down on noise and receive notifications only from your areas of interest.
To set alarm notifications to your default filters:
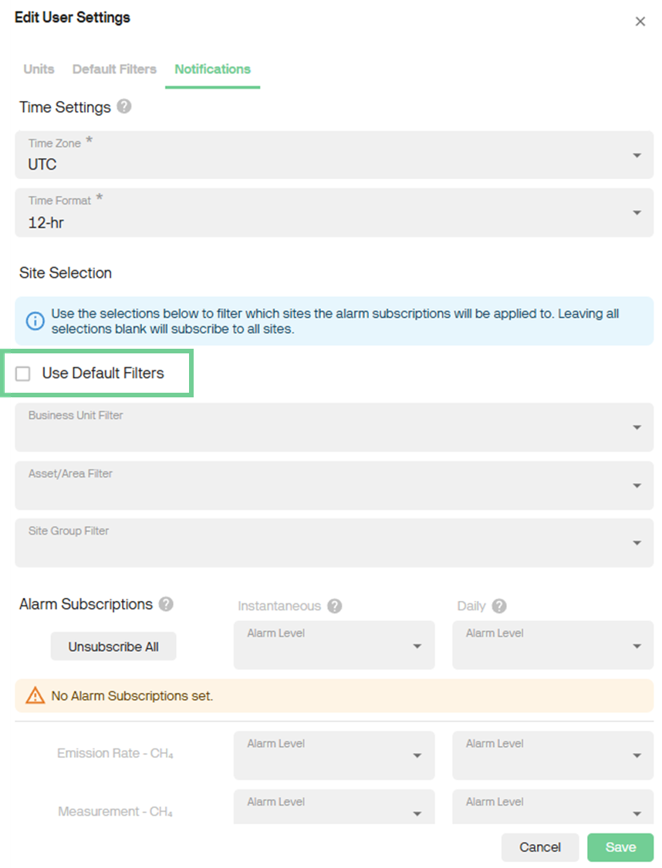
In User Settings, go to Notifications.
Toggle Use Default Filters to receive alarm notification only for your filtered sites.
How to Reset Filters
To temporarily view additional sites: adjust filters at the top of the Overview and Emission Analytics pages.
To return to your default filter: refresh the page.
The default filters will be back on.
To remove defaults entirely: go to User Settings then Default Filters and deselect all criteria.
Try It Out Today!
If you’ve got any questions about these features or any Qube products, connect with our specialists at Qube Technologies.
For more insights into how Qube Technologies is driving emissions reduction, explore our expert insights, white papers, case studies or reach out directly.